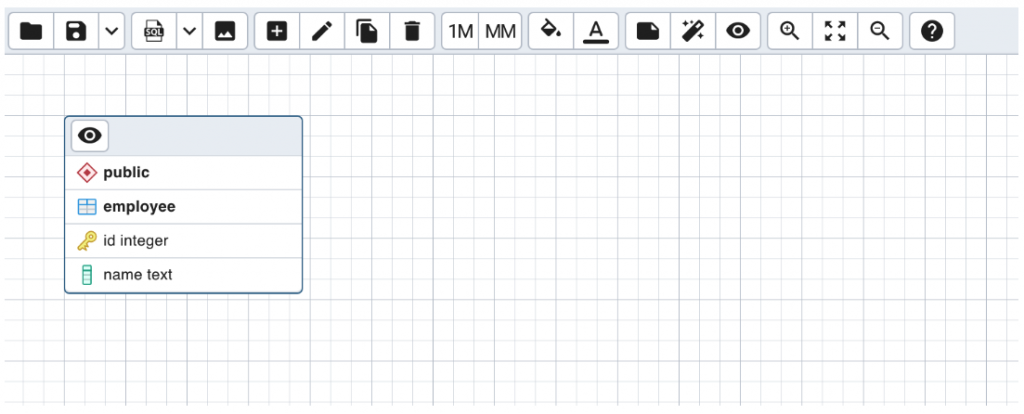
The Entity-Relationship Diagram (ERD) tool is a database design tool that provides a graphical representation of database tables, columns, and inter-relationships. An ERD can give sufficient information for the database administrator to follow when developing and maintaining the database.
The video demo here - https://www.youtube.com/watch?v=2pxVCzRFGeg is very useful to get a brief introduction of the ERD tool in pgAdmin 4. The video was recorded long ago and since then the pgAdmin 4 team has introduced many improvements and features based on users feedback.
Step 1: Open the ERD canvas
To open the ERD canvas, you can simply select a database and select ERD Tool from the Tools menu. You will get a blank canvas to create your ERD from scratch.
pgAdmin allows you to create an ERD using an existing database or table as well. You can right click on a database, select “ERD for database” option to generate an ERD from the database.

If you wish to start with a table, you can simply right click on the table and select the “ERD for table” option. pgAdmin will generate an ERD for the table including tables depending on it as well as the tables which it depends on. You can customise the level of depth for the relation traversing from File -> Preferences -> ERD Tool -> Options -> Table Relation Depth.

Step 2: Create Tables and Relationships
Now we have opened the ERD tool, click on the Add button(with plus icon) on the toolbar and it will open a create table dialog. Add the name as “table1” and then add the columns "id" (primary key), "name" and save it.

Once you save, you will see something like the screenshot below. You can double click the table to open the dialog again and make changes. You can also reorder the columns using the drag handle on the column row.

Let's add one more table “employee_address” with columns "id" (primary key), "emp_id", "addr1", "addr2".

The “employee_address” table will have employee addresses. We can add a one to many relationship with one employee having multiple addresses. To add the relation, select the employee table node and click on the “1M” button of the toolbar. It will open the one to many relationship dialog. Select appropriate columns as below and save it.

Once it is saved, you can see the relationship between the table on the canvas.

Step 3: Create the SQL of the ERD
Now that our ERD is ready, we can export it to DDL SQL. The SQL can be directly executed on a database to create the tables and their relationships. To do so, click on the “Generate SQL” button (with SQL icon). It will open the Query Tool with the SQL.
If you wish to resume the ERD project later, you can save the ERD file and open it again to resume it.
Other features
The ERD tool has many other useful features like Adding notes to the table nodes, changing the background color to help grouping nodes, many to many relationships, exporting the ERD to an image file and many more. To read more about it, you can check out https://www.pgadmin.org/docs/pgadmin4/latest/erd_tool.html
Conclusion
pgAdmin 4 allows you to create an ERD in a few simple steps. The pgAdmin team welcomes any suggestions or improvements that can be done. To log a request please visit https://github.com/pgadmin-org/pgadmin4/issues/new
