
In this article, We are going to perform analysis on different images of Animals like. Cats, Cows, Fish, Dogs, and Elephants and based on the feature set of every image we will try to see if our model is able to classify each Animal into the correct category or not. The expected result should be
- Our model should determine the Animal type from the image.
- Each image of Cat should go into the Cat category.
- Each image of Cow should go into the Cow category.
- Each image of Dog should go into Dog category.
- Each image of Elephant should go into the Elephant category.
- Each image of Fish should go into the Fish category.
Software versions and Operating system information
We are going to use 2UDA version 12.4-1 for Windows to implement Image classification. This version combines:
- PostgreSQL 12.4
- Orange 3.26.0
You can find the latest version of 2UDA here.
Step 1:
Select Animal images
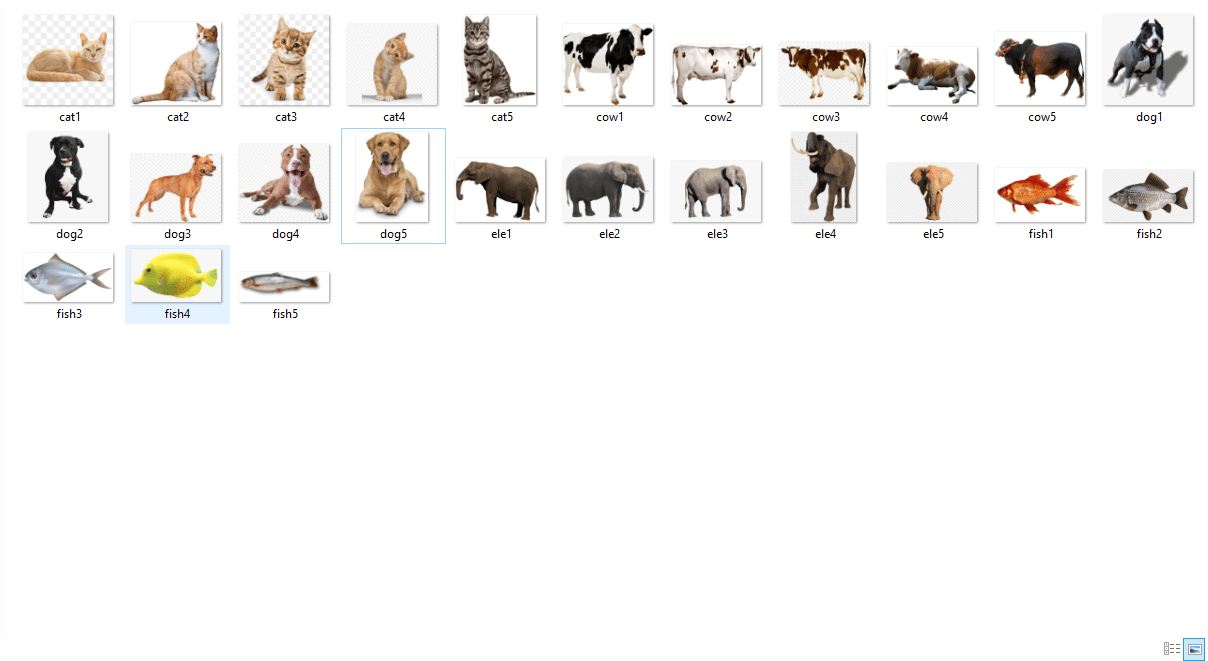
- Create a local folder named Animals. And place about 5 images of each animal in that folder.
Below is the screenshot of the folder which contains 25 different images
Step 2:
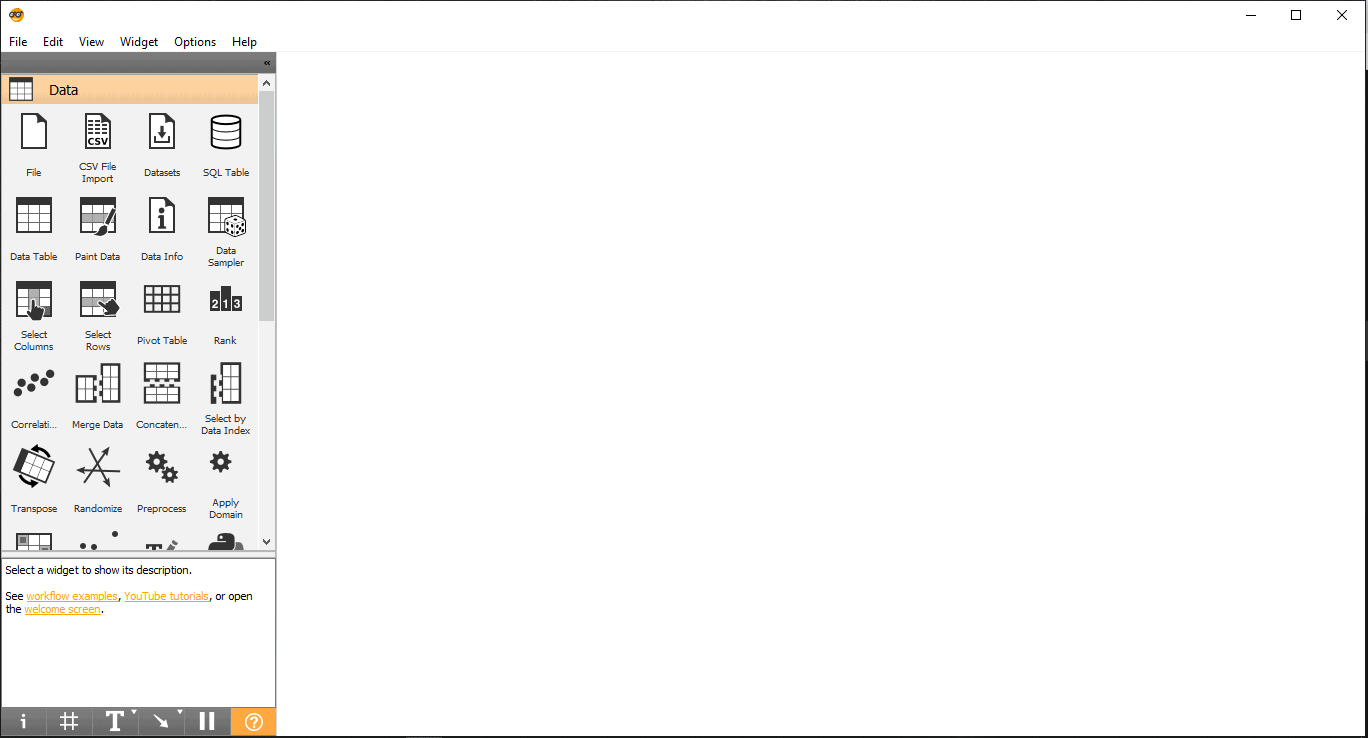
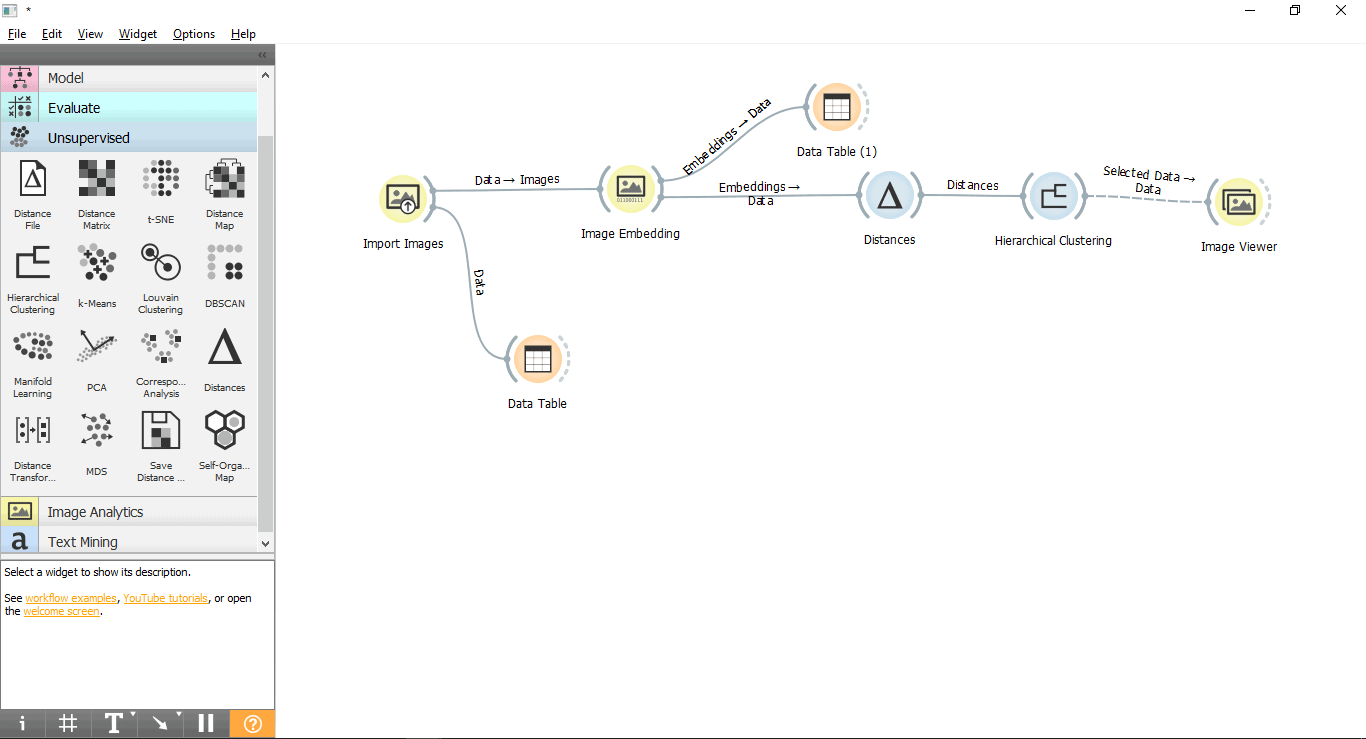
Create a workflow with orange
- Go to the desktop and double click on the Orange icon.
- Create a blank project by clicking on New from the menu.

Step 3:
Load images into Orange
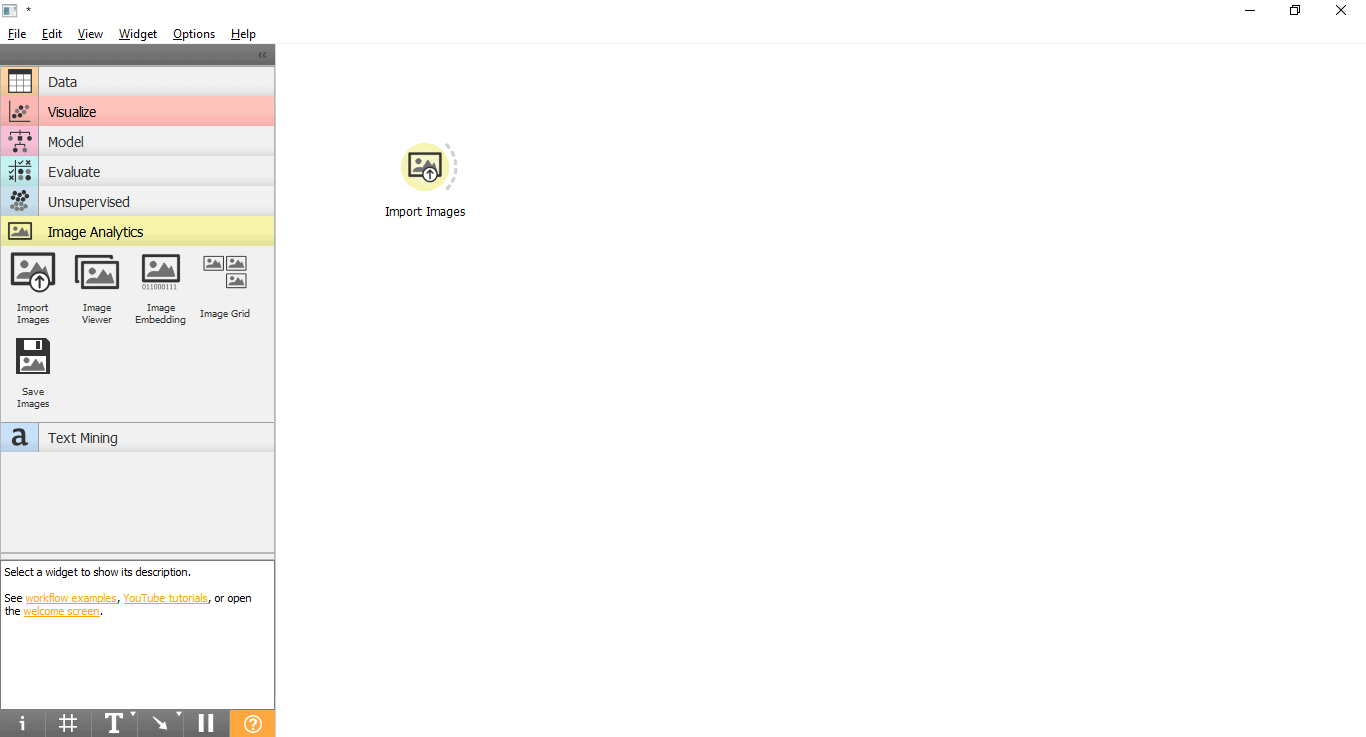
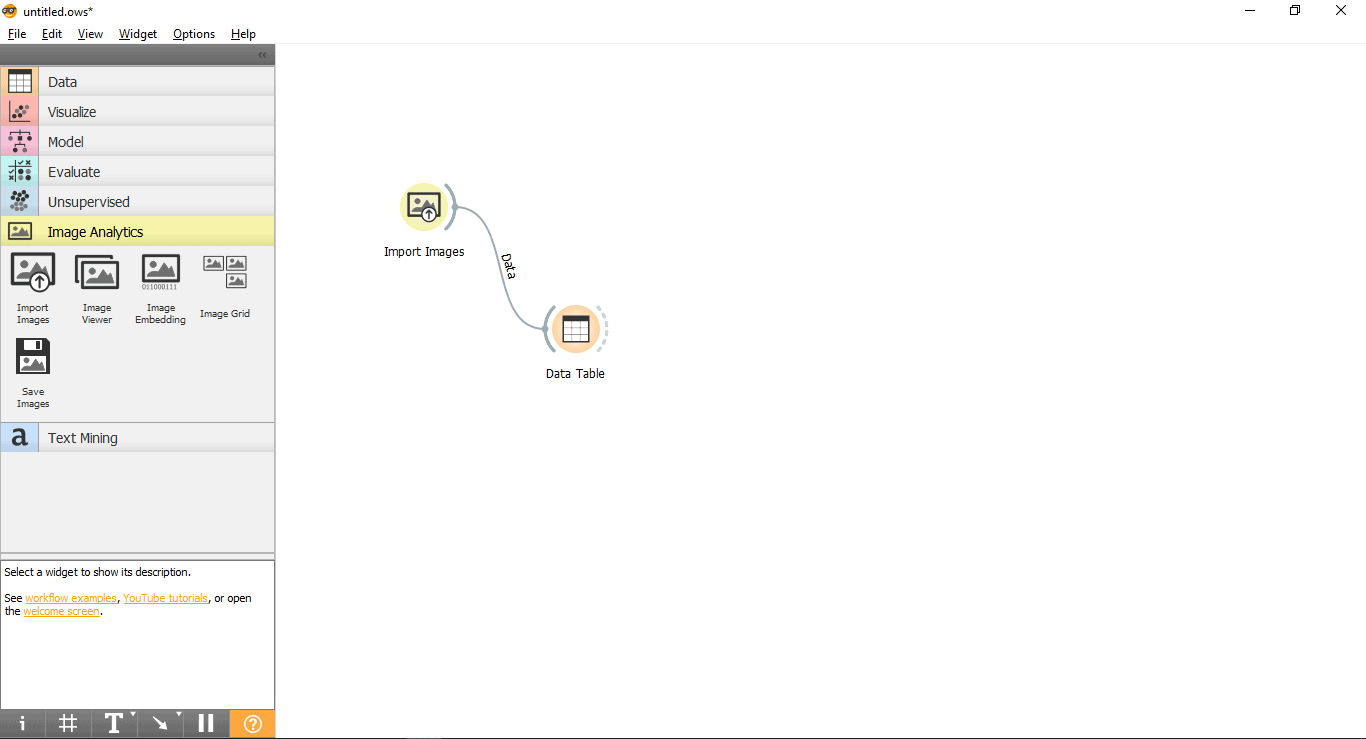
- Drag and drop Import Images widget from Image Analytics menu
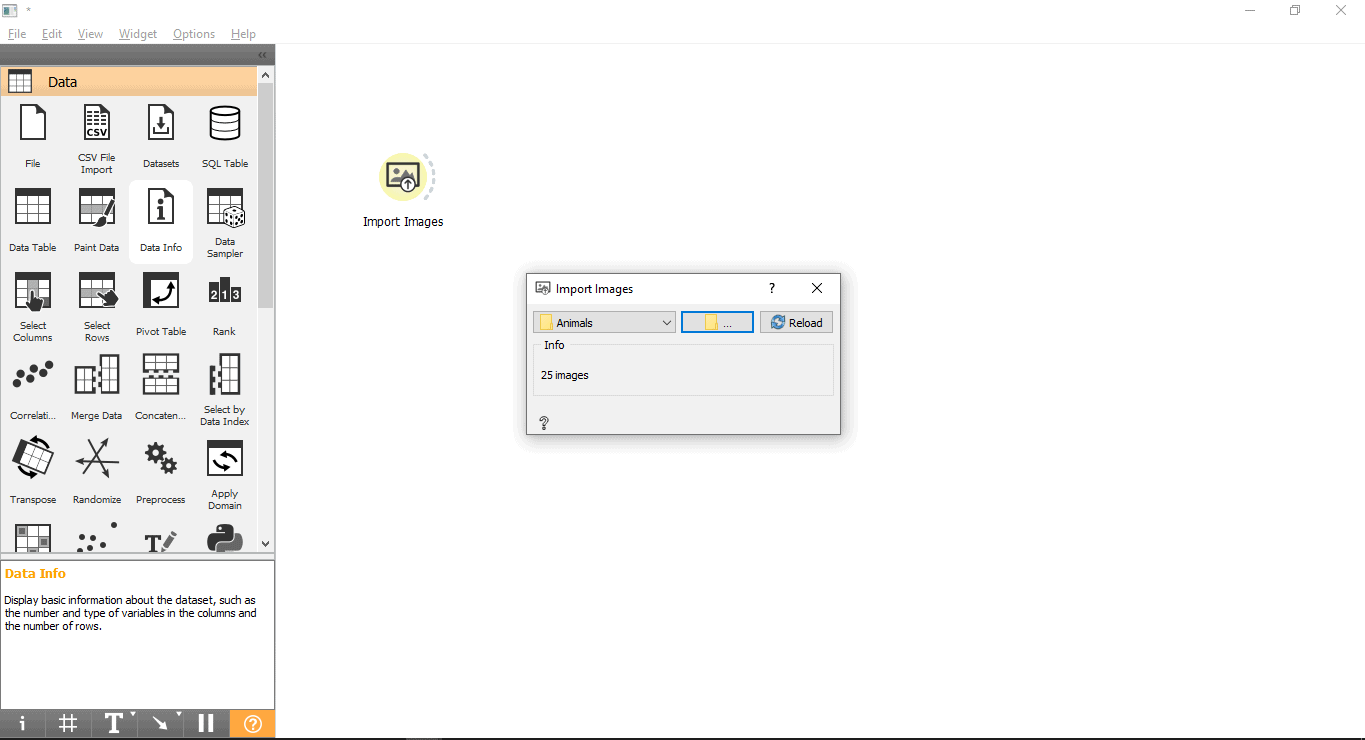
- Double click on Import Images widget and select the folder which contains Animal images.
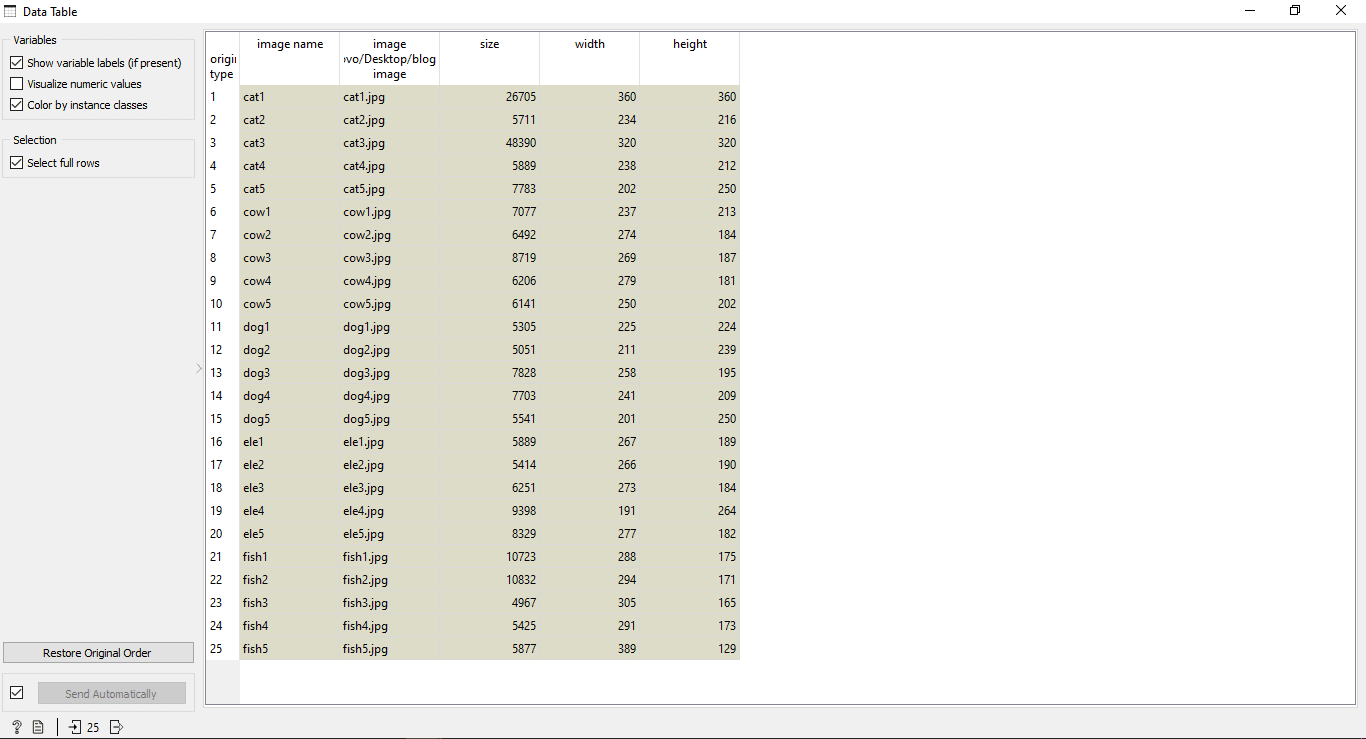
- We can also view the data in the Data Table widget. Drag and drop Data Table widget from the Data menu. Connect it with Import Images widget double click on Data Table widget to view the results.
Step 4:
Image Embedding
Above data, table results are very limited and cannot be used in machine learning. To get more information from images we need to use a widget called Image Embedding. Image Embedding reads images and uploads them to a remote server or evaluate them locally. Deep learning models are used to calculate a feature vector for each image. It returns an enhanced data table with additional columns (image descriptors).
NOTE: If you do not want to upload images to a remote server and let these servers evaluate your images. Then you can even select the local option under the Embedder option to evaluate images locally on your computer. This is a small and fast model but final results can be different as compare to online models.
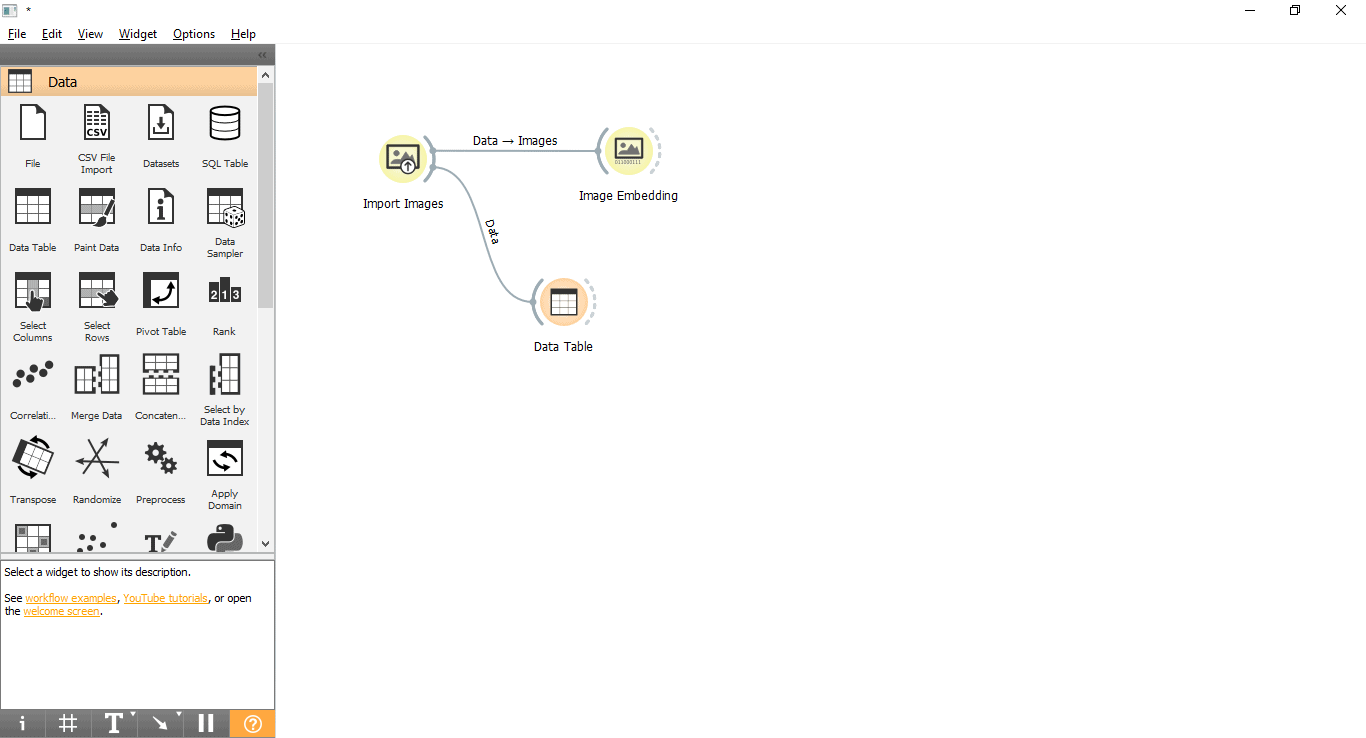
- Drag and drop Image Embedder widget from Image Analytics menu and connect it with the Import Image widget
NOTE: Double click on Image Embedder widget if you want to change the Embedding option to local.
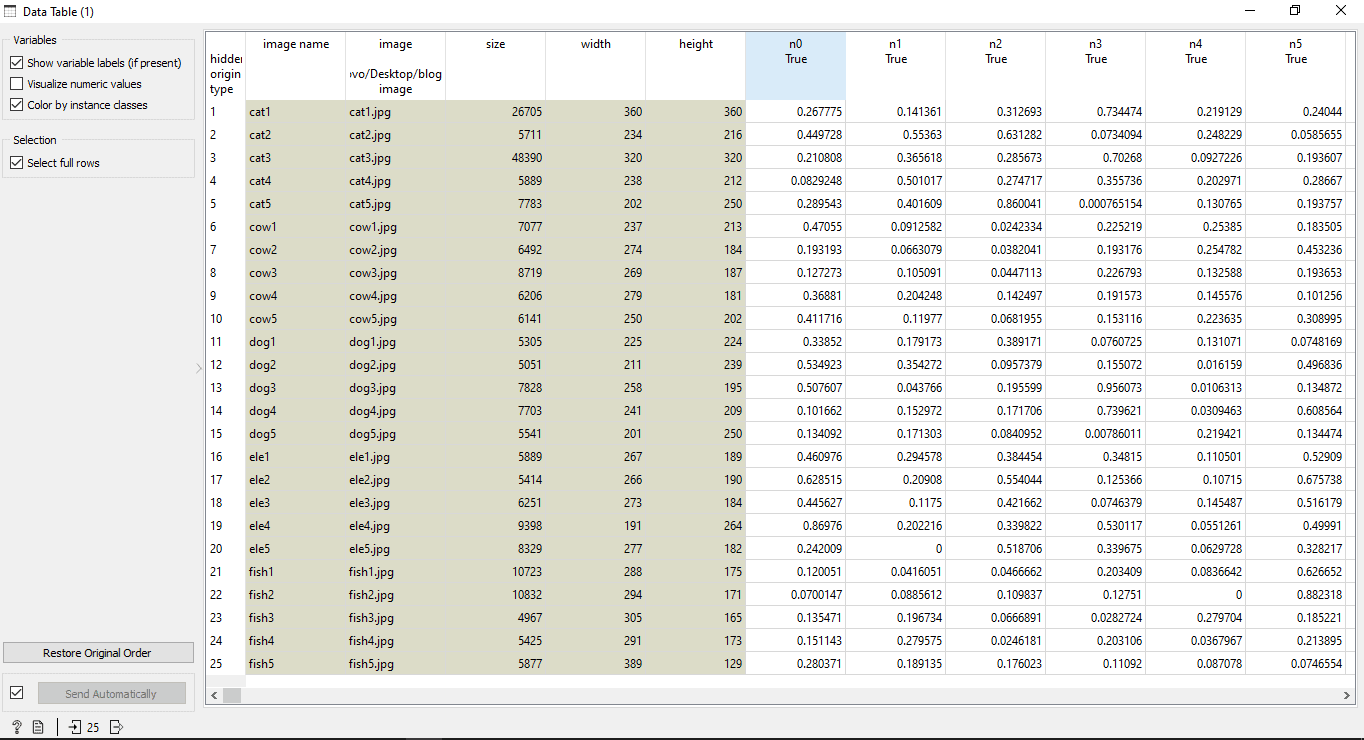
- To view, the results connect Image Embedding widget to the data table widget from the data menu
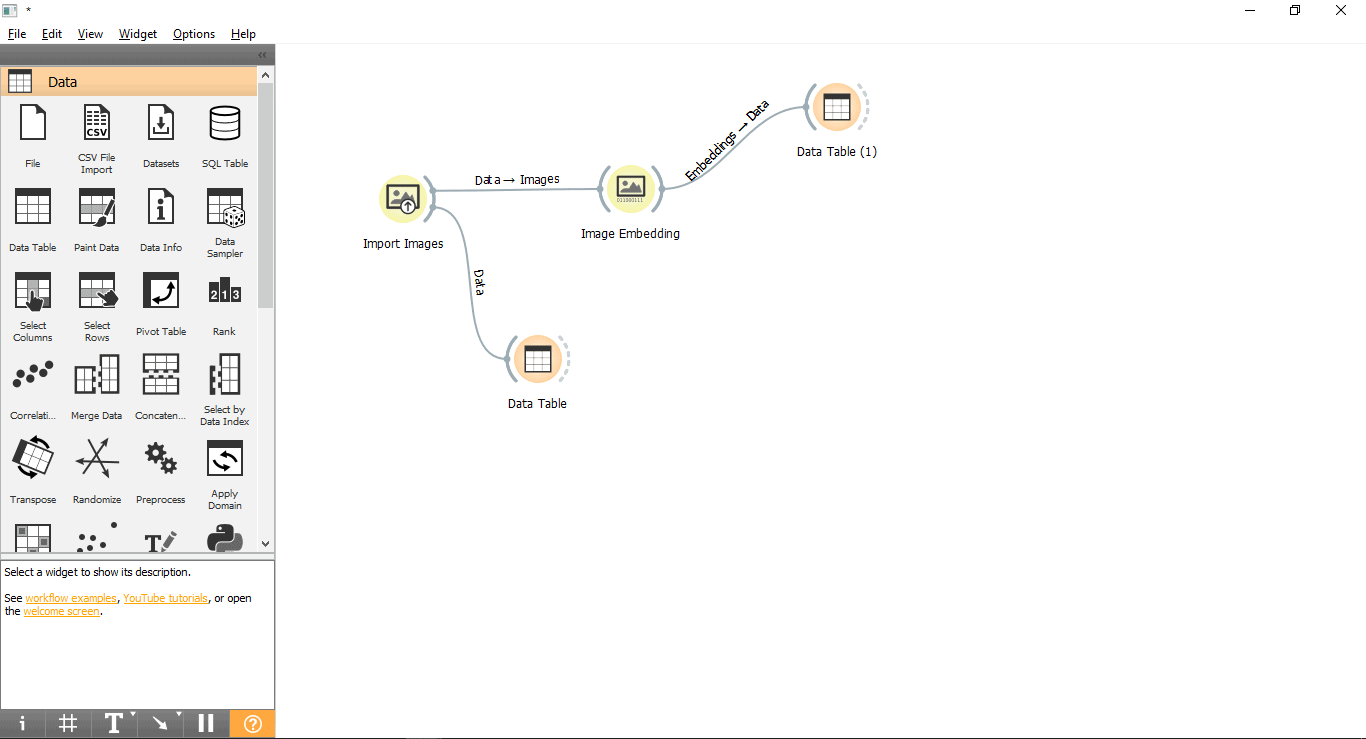
- We can now see hundreds of columns against one image. These columns determine features of one image and that data will be used to categorize the images at the end.
Step 5:
Compute a distance between rows or columns
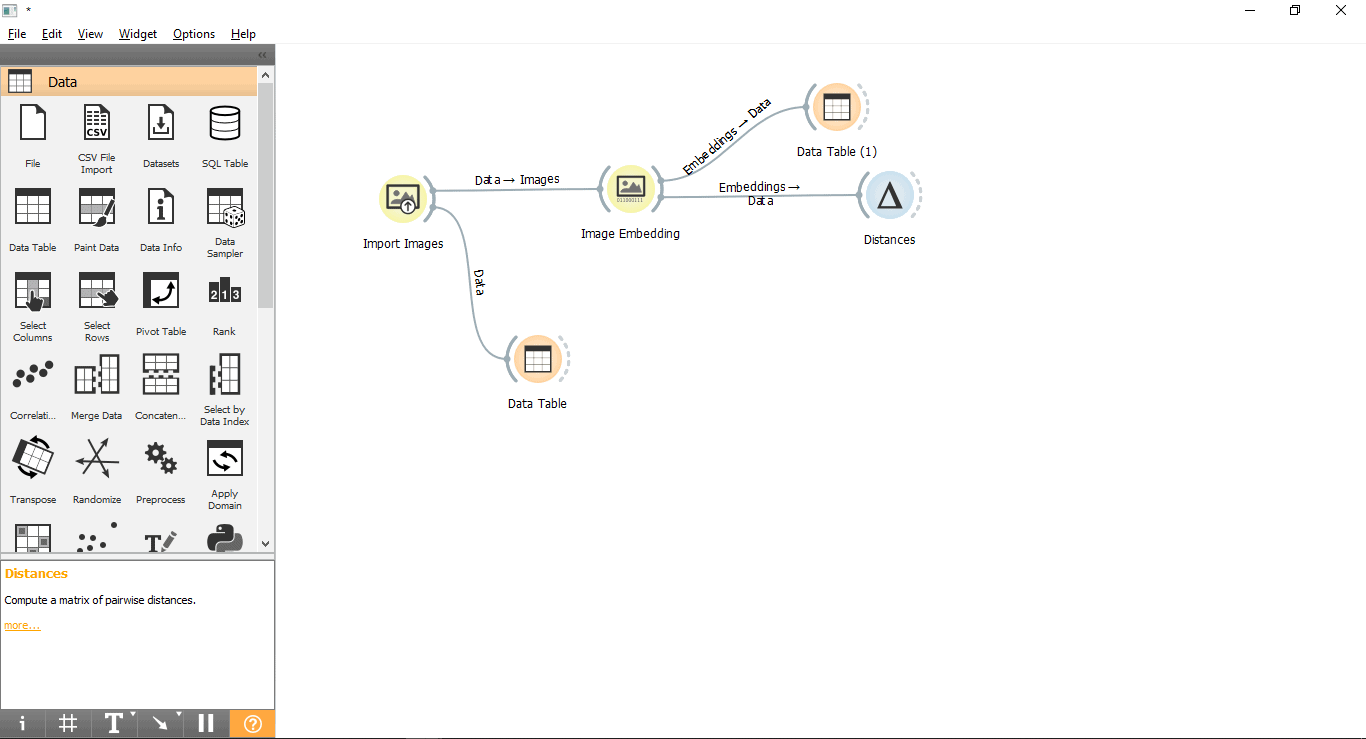
The distance widget will compute the distance between rows/columns.
- Drag and drop Distance widget from Unsupervised menu
- Connect Image Embedding widget to Distance widget
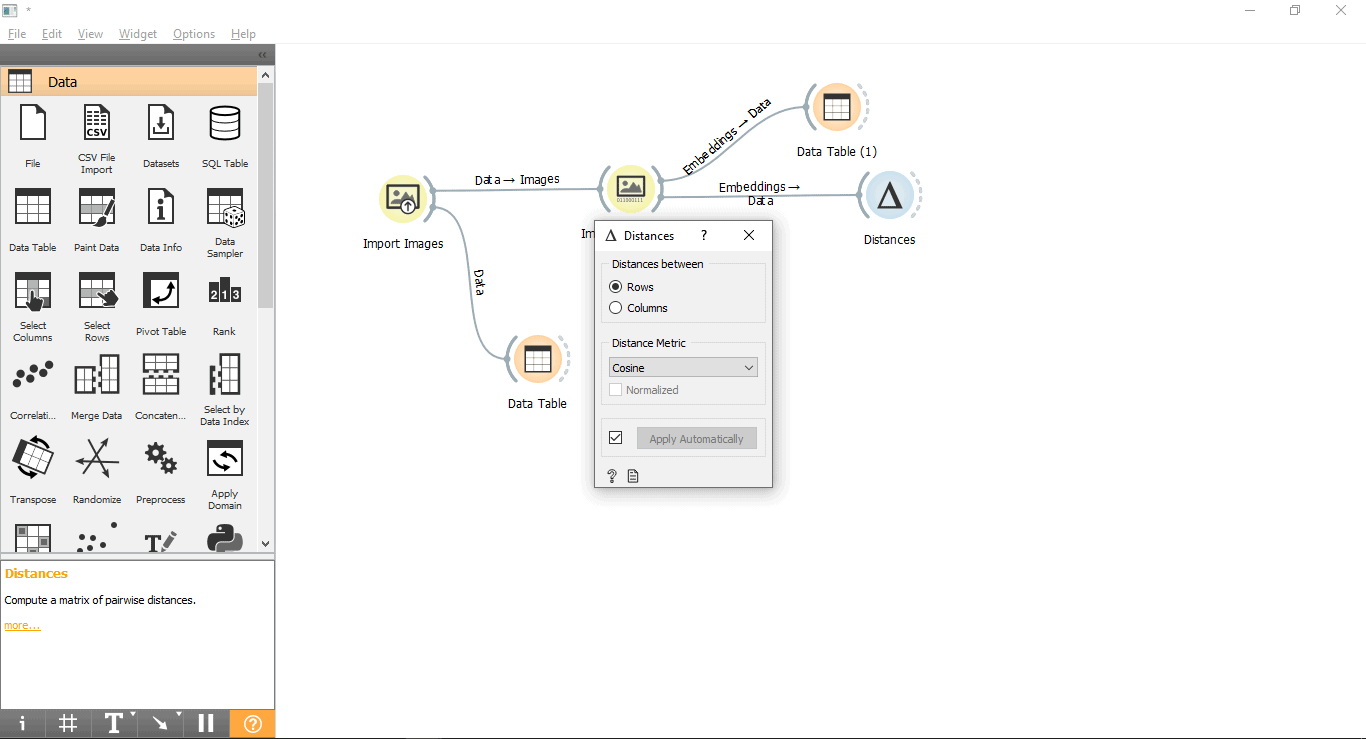
- Select Distance Metric as Cosine.
Step 6:
Hierarchical clustering
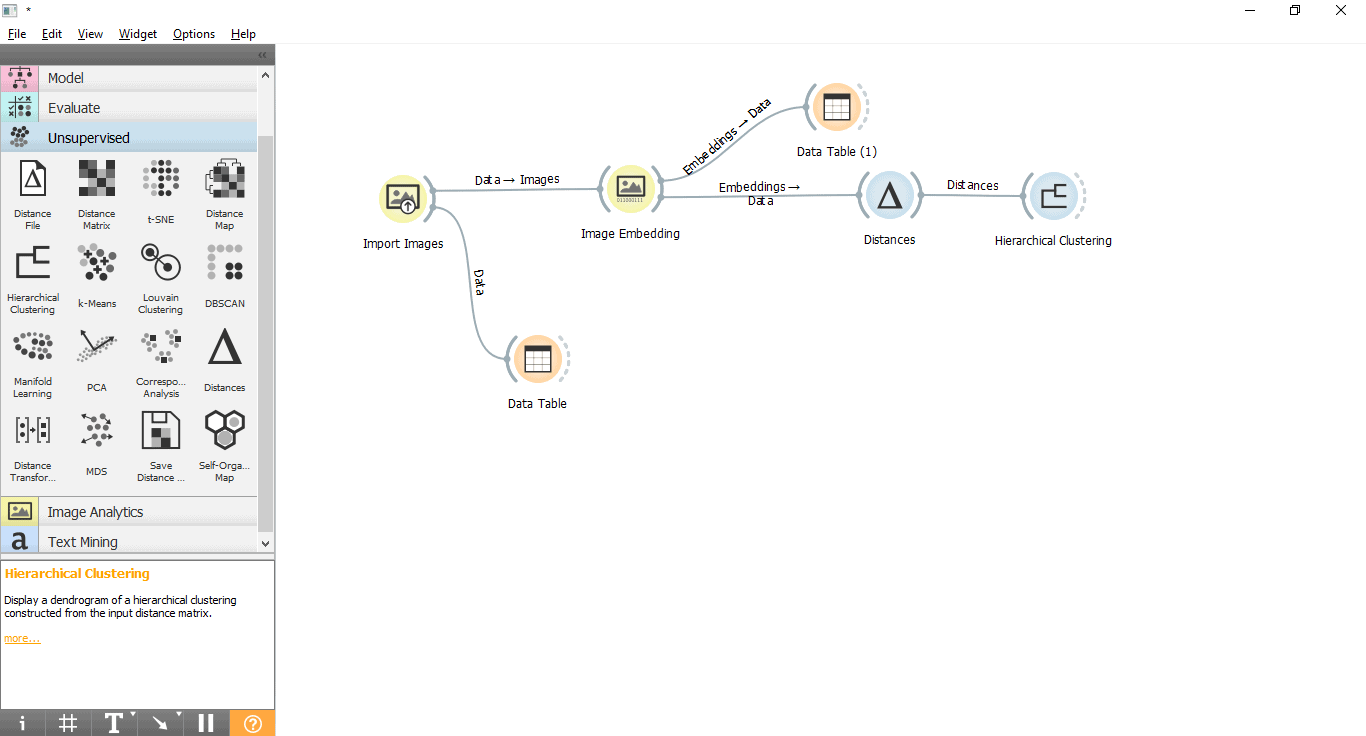
This widget is used to group items using a hierarchical clustering algorithm.
- Drag and drop hierarchical clustering widget from Unsupervised menu
- Connect Distance widget with hierarchical clustering widget
Step 7:
View the results
Now we can see results in Image Viewer.
- Drag and drop the Image Viewer widget from Image Analytics menu
- Connect Image Viewer widget with Hierarchical Clustering widget.
- Double click on Hierarchical Clustering and Image viewer widget to open.

We can see the Hierarchical Clustering widget is successfully able to determine 5 groups. We can also select a group to see images in the Image Viewer widget.
Select other groups in the Hierarchical Clustering widget output to view the results.
For any questions or comments, please get in touch using the contact form here
