So, you’ve installed your Postgres database, whether Community Edition, EDB Postgres Advanced Server or one of many other cloud, container, or Database as a Service offerings out there. Now what next?
Well, the first thing you are going to do (once you have secured your new database) is access it, and use it to store and distribute your data. Which means you are going to need a design and development environment in which to do so. But where to begin?
There are many ways to access Postgres databases. Many database designers, developers and administrators use IDEs (Integrated Development Environment) as tools to access the internals of their database estate.
The good news is that even if you use an IDE for another database, chances are that you will be able to use it for Postgres as well.
I’m going to demonstrate connectivity to an EDB Postgres Advanced Server from 64-bit Windows 10, but this is just as applicable to Postgres Community Edition and other Postgres-based databases too.
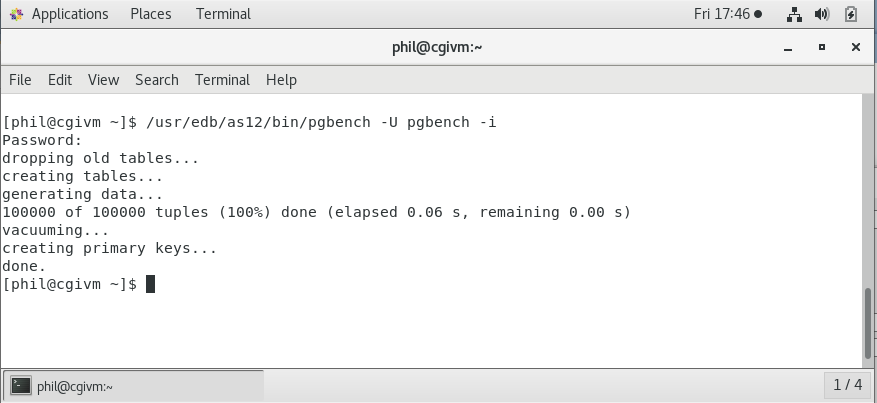
Before I connected to the database, I created an instance on port 5444, adjusted the security settings to allow external connections, and created a pgbench database, a pgbench superuser, and ran the pgbench executable as follows:
This will give me something to connect to, and something to look at, once I have connected the various IDEs.
How to connect to SQL*Developer with PostgreSQL
This is a commonly used tool by Oracle professionals, and it can also be used to maintain a variety of other databases, Postgres included.
SQL*Developer can be downloaded from the Oracle website and is a Java-based tool that will run on pretty much any platform that runs Java, or even OpenJDK.
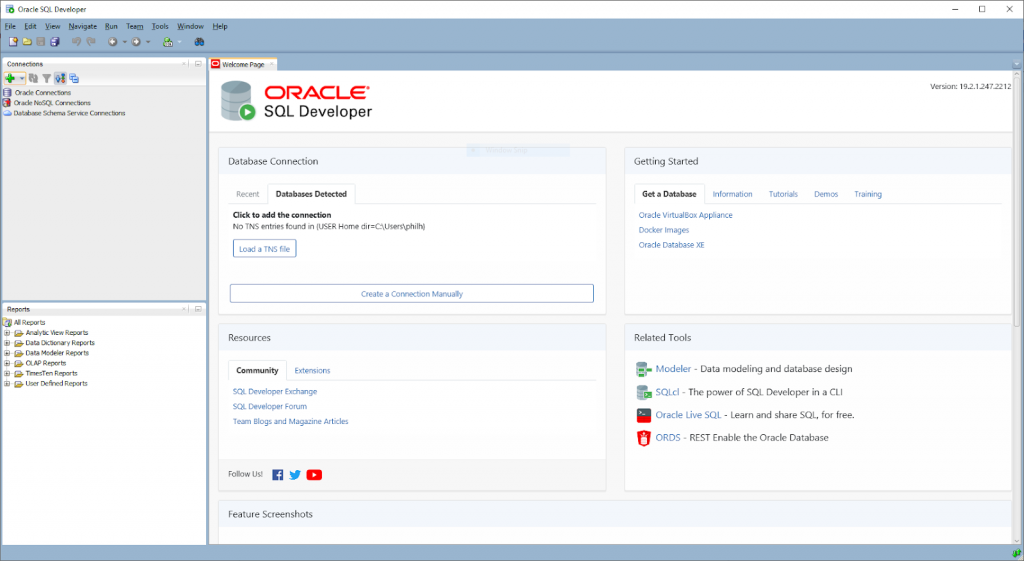
Download the appropriate zip bundle, unzip somewhere you can execute from, and run the sqldeveloper.exe file.
You should get a screen like this (you may already have SQL*Developer installed, in which case you can skip the download step).
To connect to pretty much any kind of Postgres database, you are going to need a postgresql JDBC driver.
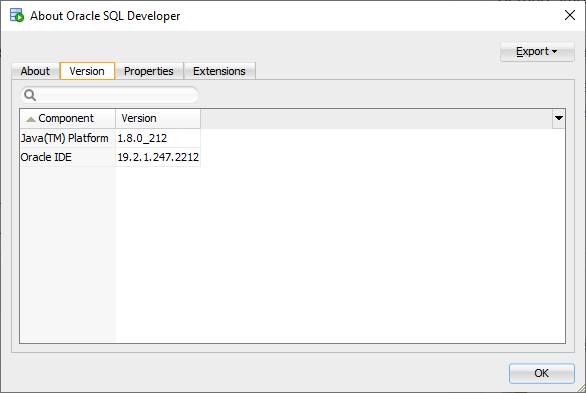
Download the appropriate driver for the version of SQL*Developer you are running (Help -> About -> Java Platform)
I am on Java v1.8, so I downloaded the PostgreSQL JDBC 4.2 Driver, 42.2.12.
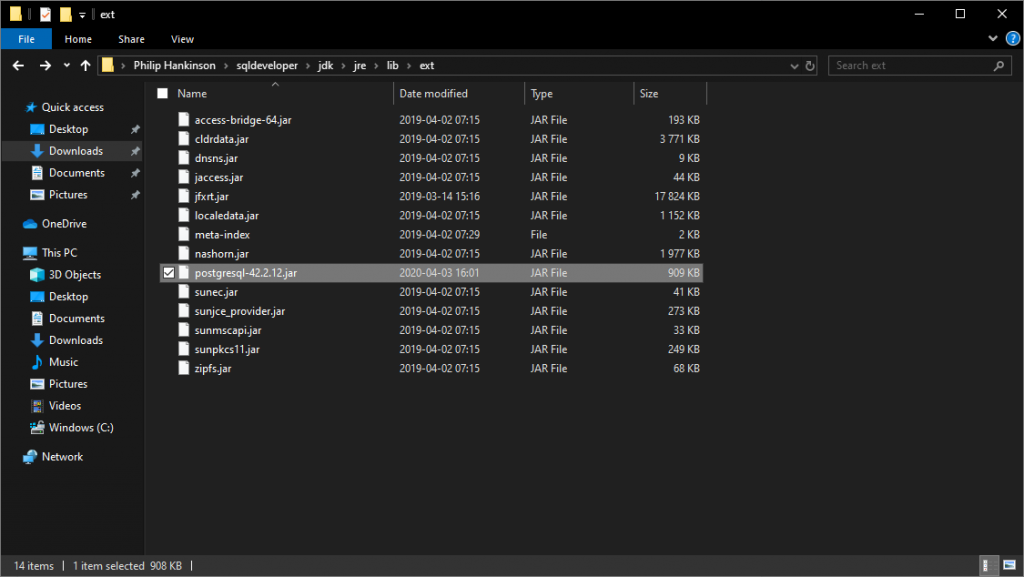
Then, put the JDBC .jar in your SQL*Developer Java lib/ext directory. Mine was here:
Now you are ready to connect to your database.
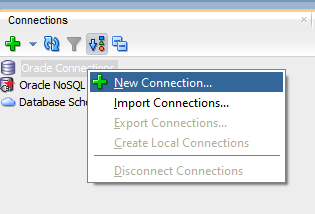
Right-click on “Oracle Connections” in the left tree, and select “New Connection”.
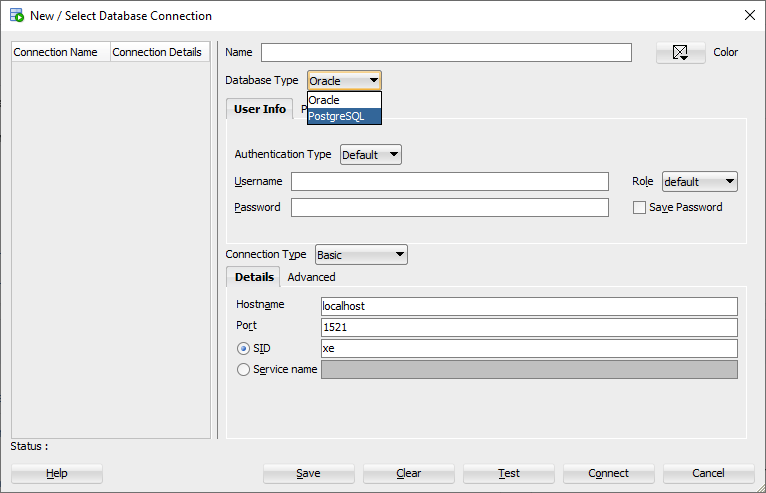
You should get a dialog that looks like this:
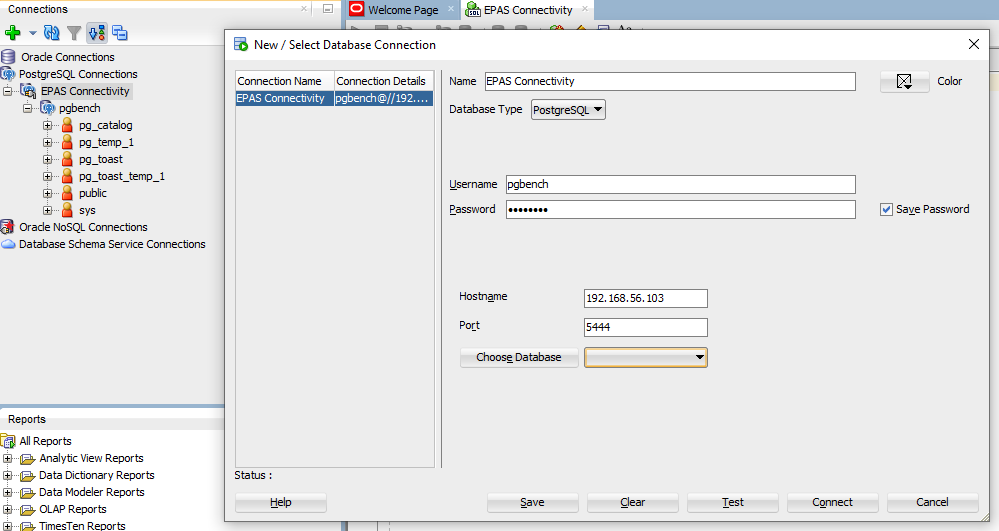
Select Database Type -> PostgreSQL from the drop-down list, and enter your connection details, as below:
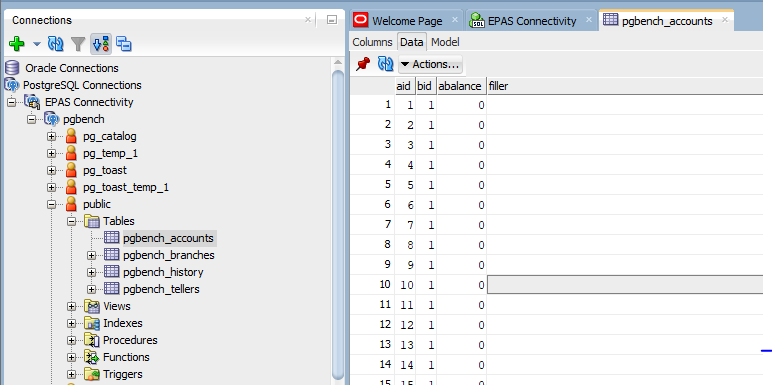
And your database objects are now shown in the tree on the left.
You can now view table data, metadata, and issue SQL commands as usual.
How to connect to Visual Studio Code with PostgreSQL
Visual Studio Code is a lightweight source code editor which runs on your desktop and is available for Windows, macOS and Linux.
Visual Studio Code has a wide variety of plugins, including many for PostgreSQL.
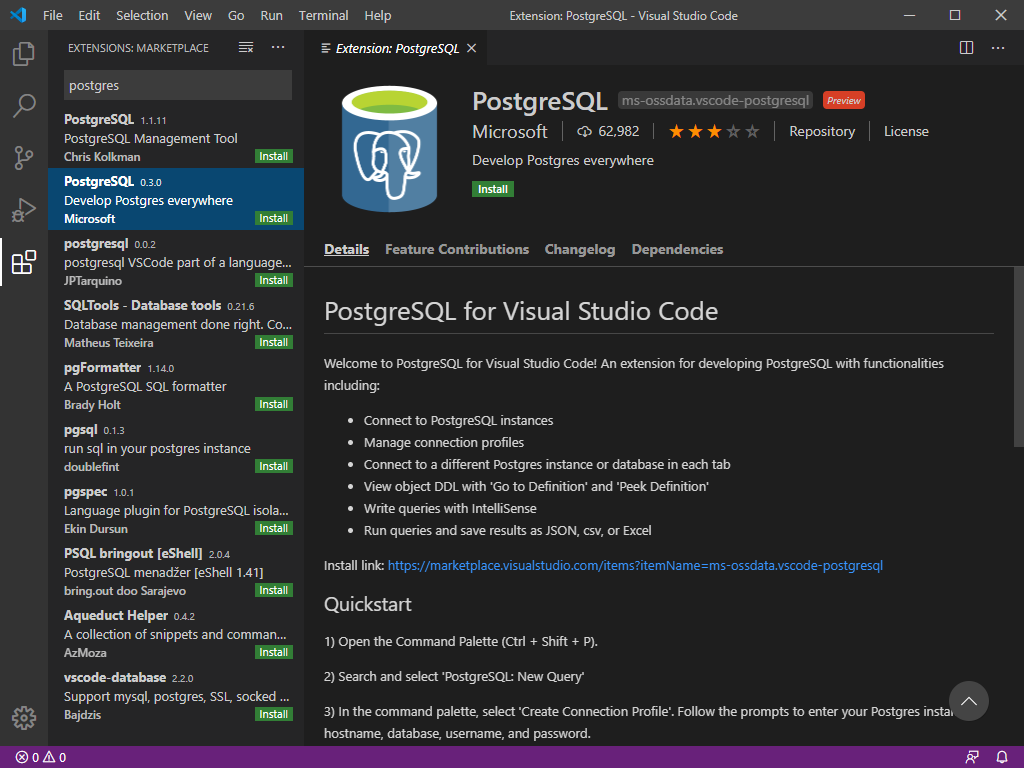
Below is a screenshot of Visual Studio Code with the Microsoft “PostgreSQL for Visual Studio Code” plugin highlighted and ready to install - just press the green “install” button and...
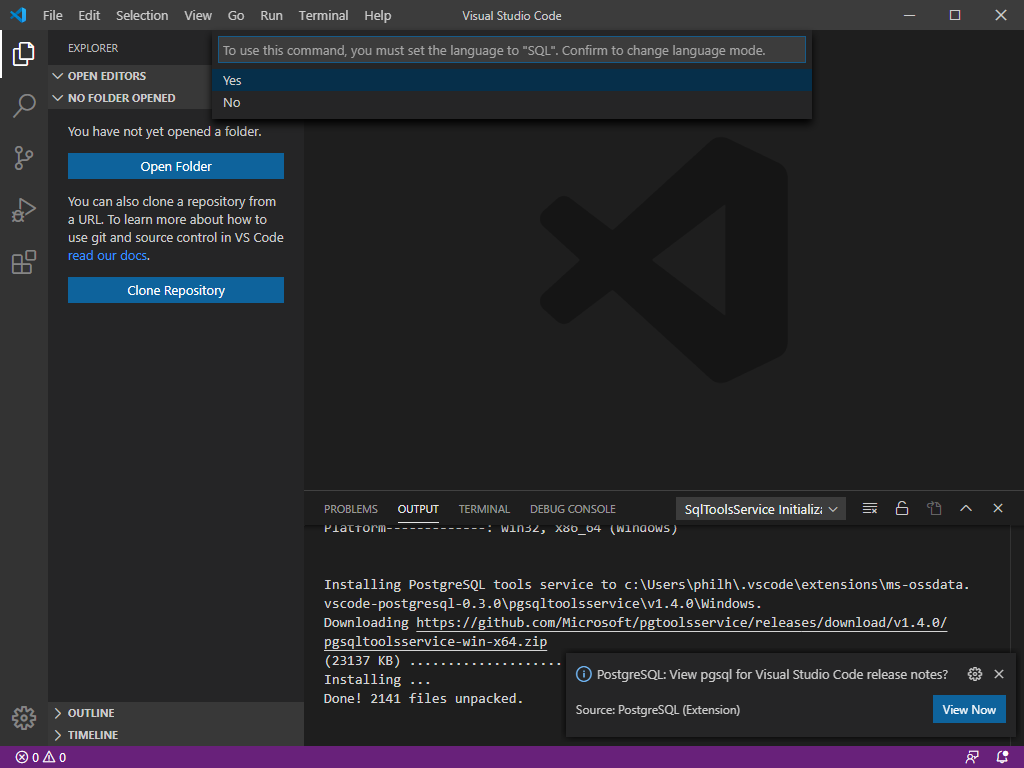
You should get a download and install completion dialog, as below:
You are now ready to start entering and executing your SQL.
Open a file (File -> New File) and set the file type to SQL (View -> Command Palette -> PostgreSQL: Manage Connection Profiles, and opt to select SQL as your file type, then select SQL from the list). Your file should now have the red barrel SQL icon on the tab.
Now create a Connection Profile. Follow the View -> Command Palette -> PostgreSQL: Manage Connection Profiles wizard - and make sure to include the database to connect to. You are now ready to execute the SQL in your script.
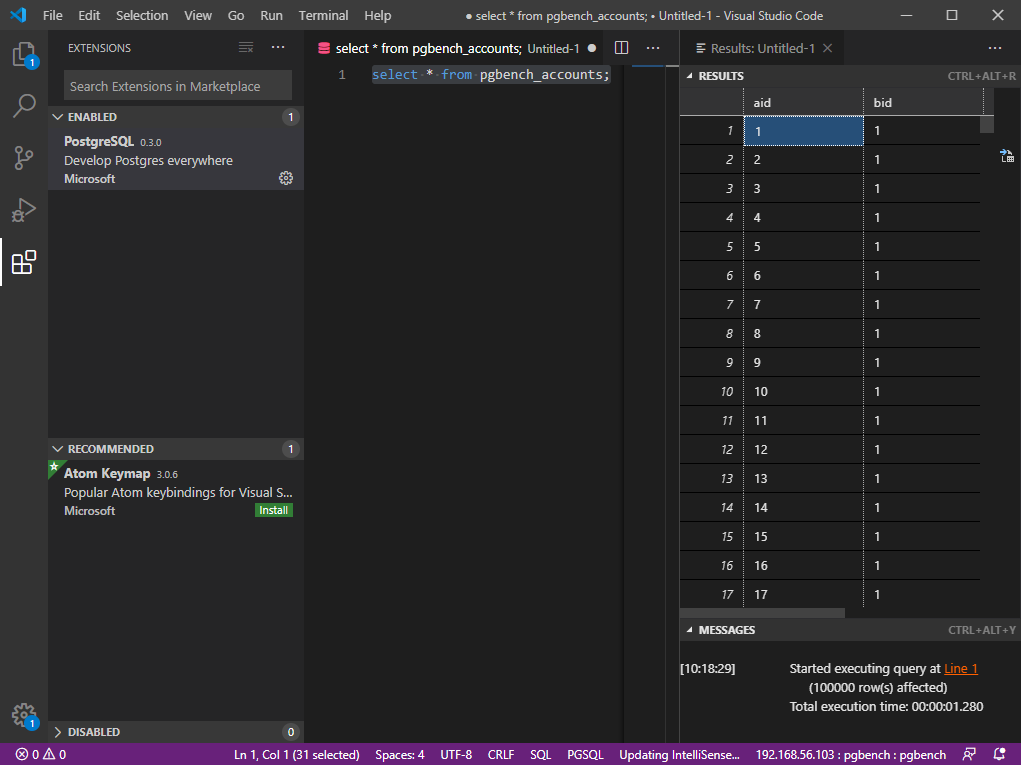
Type out your query (you will get autocomplete options as you type) and right-click and select Execute Query. You will see the results of your query in the right-hand pane.
How to connect to DBeaver with PostgreSQL
DBeaver is an amazing IDE which will allow you to connect to virtually anything with a JDBC connector.
It is available for download at https://dbeaver.io/download/ in both community edition (free) and as a paid subscription version offering yet more connectivity and functionality.
After downloading the installer, start the installation process and follow the instructions. This should all be pretty straightforward.
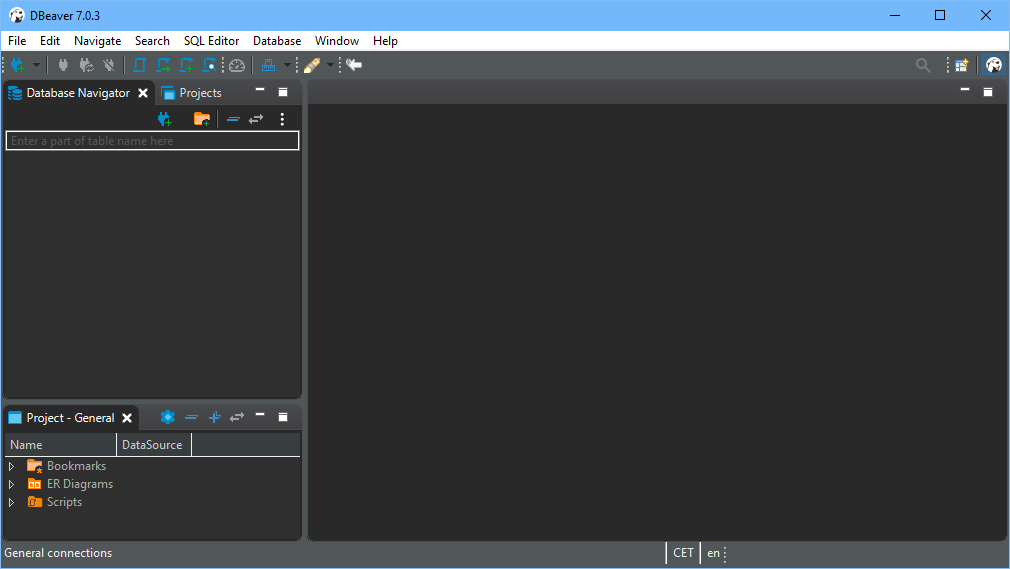
Once you have completed the installation, start the DBeaver application from your start menu. You should see a loading splash screen and then the main application will open, like so:
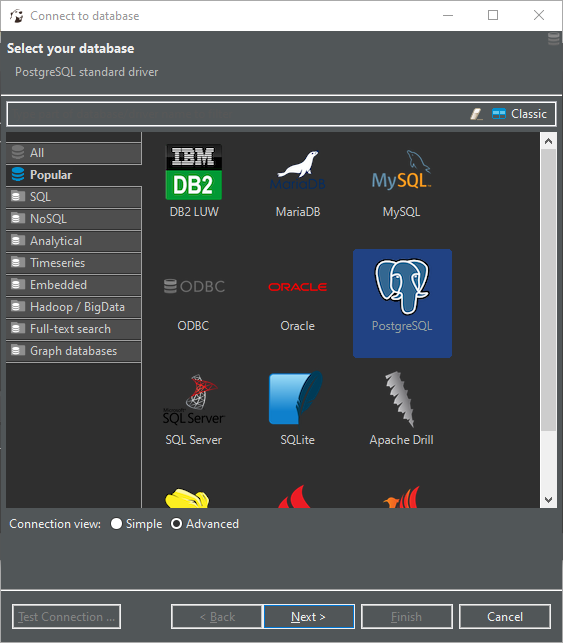
To connect to your PostgreSQL database, select Database -> New Database Connection and select PostgreSQL (with the elephant):
Click “Next”
If you don’t have the JDBC drivers, you can add them on the next screen:
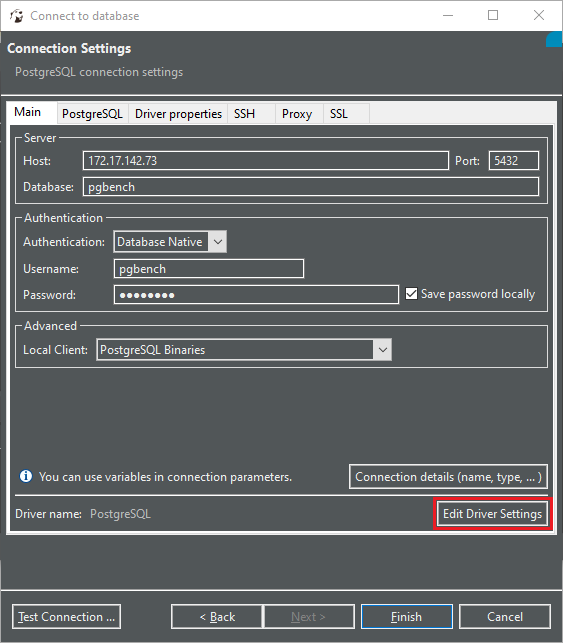
Enter your server login details, and add the JDBC driver by clicking the “Edit Driver Settings”, if you haven’t already done so:
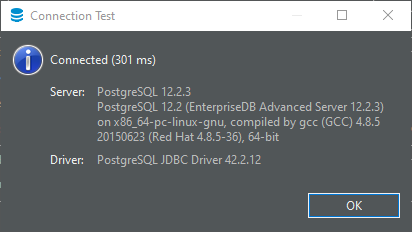
You can check your connection is set up correctly by clicking on the “Test Connection ...” button at the bottom left of the window.
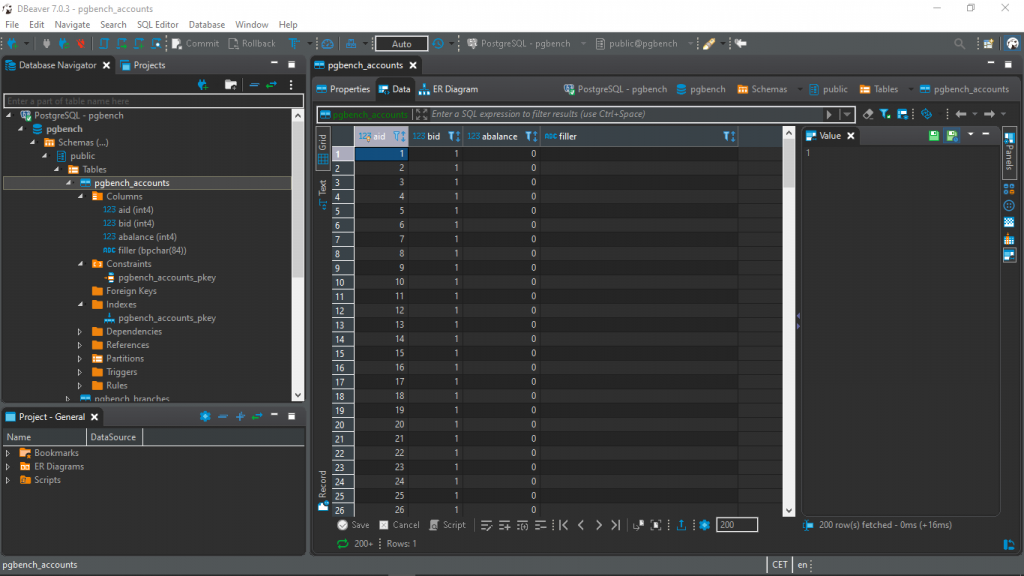
You can now achieve a variety of tasks, including using the tree on the left to drill down into objects, right click to (for example) query data in tables, edit data on the result grid, display relationship diagrams, and more.

