Here, we are going to look at how to install PostgreSQL on Ubuntu Server.
This post will help you with installing the PostgreSQL database server on your Ubuntu 18.04, Ubuntu 16.04 and Ubuntu 14.04 systems.
Step 1 – Enable the PostgreSQL apt repository
PostgreSQL packages are available in the default Ubuntu repository, but other versions of PostgreSQL are also available through the PostgreSQL apt repository.
To use the apt repository according to Ubuntu version, follow these steps:
1. Visit the PostgreSQL Ubuntu download site:
https://www.postgresql.org/download/linux/ubuntu/
2. Select your version of Ubuntu and copy the corresponding line for the apt repository.
For Example:
For Ubuntu 18.04 you should select Bionic (18.04):
deb http://apt.postgresql.org/pub/repos/apt/ bionic-pgdg main
3. Create the file “/etc/apt/sources.list.d/pgdg.list” and add the corresponding line for the repository in it:
root@pooja-virtual-machine:~# sudo sh -c 'echo "deb http://apt.postgresql.org/pub/repos/apt/ bionic-pgdg main" >> /etc/apt/sources.list.d/pgdg.list'
4. Import the repository signing key and update the package lists:
root@pooja-virtual-machine:~# wget --quiet -O - https://www.postgresql.org/media/keys/ACCC4CF8.asc | sudo apt-key add -
Step 2 – Install PostgreSQL on Ubuntu
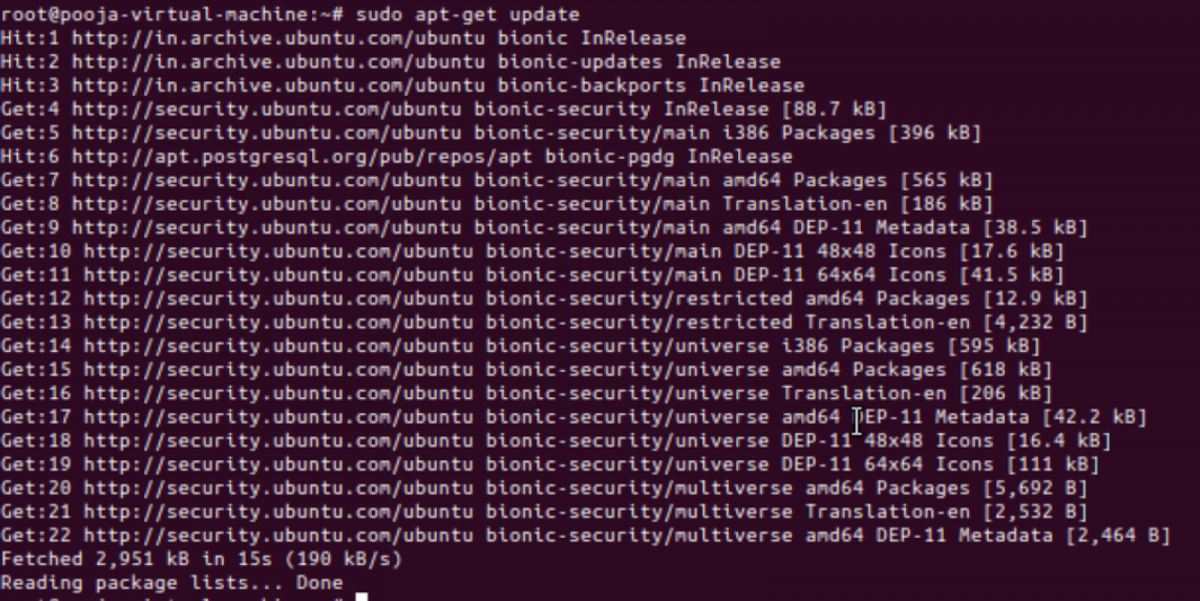
We have added the PostgreSQL official repository to our system, now we need to update the repository list:
root@pooja-virtual-machine:~# sudo apt-get update

To install PostgreSQL on Ubuntu, use the apt-get (or other apt-driving) command:
root@pooja-virtual-machine:~# apt-get install postgresql-11
Step 3 – Connect to PostgreSQL
During PostgreSQL installation, by default, it creates a user “postgres” and also creates a system account (Operating System User) with the same name “postgres.”
So to connect to the PostgreSQL server, log in to your system as user “postgres.”
root@pooja-virtual-machine:~# su - postgres
Step 4 – Log in to the cluster
On Ubuntu, the cluster is initialized during the installation. You can invoke the below command to find the status of the running PostgreSQL cluster:
root@pooja-virtual-machine:~# ps -ef | grep postgres


postgres   4862      1  0 05:32 ?        00:00:00 /usr/lib/postgresql/11/bin/postgres -D /var/lib/postgresql/11/main -c config_file=/etc/postgresql/11/main/postgresql.conf

postgres   4864   4862  0 05:32 ?        00:00:00 postgres: 11/main: checkpointer

postgres   4865   4862  0 05:32 ?        00:00:00 postgres: 11/main: background writer

postgres   4866   4862  0 05:32 ?        00:00:00 postgres: 11/main: walwriter

postgres   4867   4862  0 05:32 ?        00:00:00 postgres: 11/main: autovacuum launcher

postgres   4868   4862  0 05:32 ?        00:00:00 postgres: 11/main: stats collector

postgres   4869   4862  0 05:32 ?        00:00:00 postgres: 11/main: logical replication launcher
Now you can log in to the PostgreSQL cluster and query through the psql client:
postgres@pooja-virtual-machine:~$ /usr/lib/postgresql/11/bin/psql -p 5432

psql (11.5 (Ubuntu 11.5-3.pgdg18.04+1))

Type "help" for help.


postgres=# \l

                             List of databases

   Name    |  Owner   | Encoding | Collate | Ctype |   Access privileges

-----------+----------+----------+---------+-------+-----------------------

 postgres  | postgres | UTF8     | en_IN   | en_IN |

 template0 | postgres | UTF8     | en_IN   | en_IN | =c/postgres          +

           |          |          |         |       | postgres=CTc/postgres

 template1 | postgres | UTF8     | en_IN   | en_IN | =c/postgres          +

           |          |          |         |       | postgres=CTc/postgres

(3 rows)
Your PostgreSQL installation has been completed successfully.
Reference link for PostgreSQL 11.5 docs:
https://www.postgresql.org/docs/11/index.html
