Installing PostgreSQL on Mac OS is easy, and in this post we will review all the necessary steps to get it up and running.
Note: The method we are using here to install PostgreSQL takes advantage of the installers EnterpriseDB provides. There are other methods for installing PostgreSQL on Mac as well, and they can be found here: https://www.postgresql.org/download/macosx/.
1. Downloading the installer
Visit the downloads page of EnterpriseDB’s website, https://www.enterprisedb.com/downloads/postgres-postgresql-downloads. Download your preferred version from the list available.
2. Launching the installation
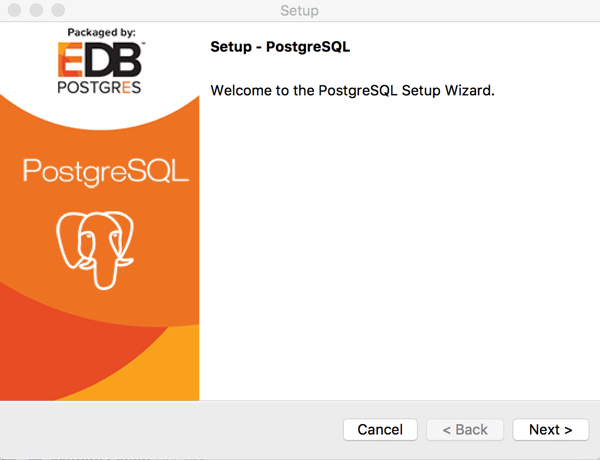
Run the downloaded dmg package as administrator user. When you get the screen below, click on “Next” button:
3. Selecting the install location
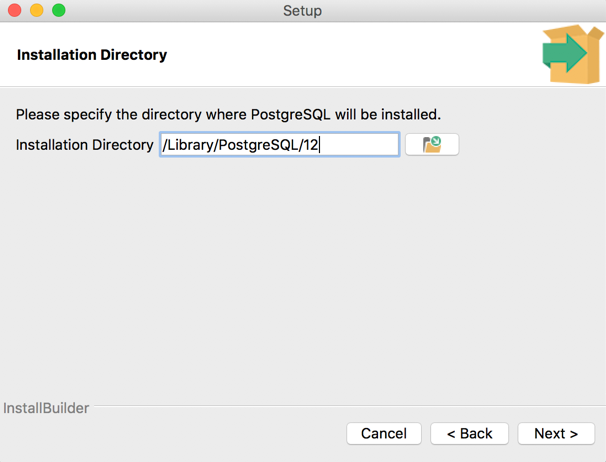
You will be asked to specify which directory you wish to use to install Postgres. Select your desired location and click “Next”:
4. Selecting components
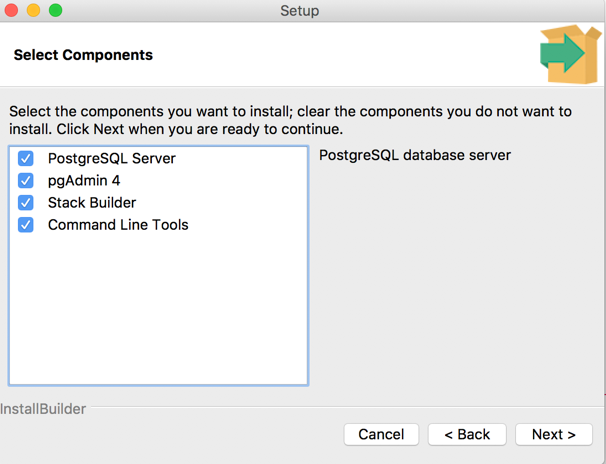
You will next be asked to select the tools that you want to install along with the Postgres installation. PostgreSQL server and command line tools are compulsory. Stack Builder and pgAdmin 4 are optional. Please select from the list and click “Next”:
5. Selecting where to store data (location of Data Directory)
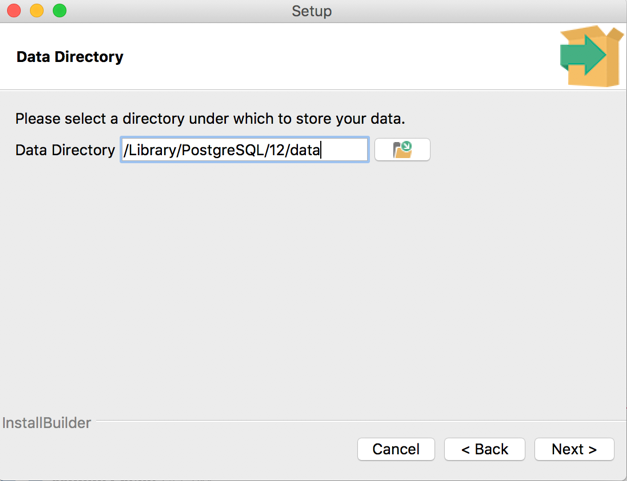
You will be asked to select the location for your Postgres cluster’s Data Directory. Please select an appropriate location and click “Next”:
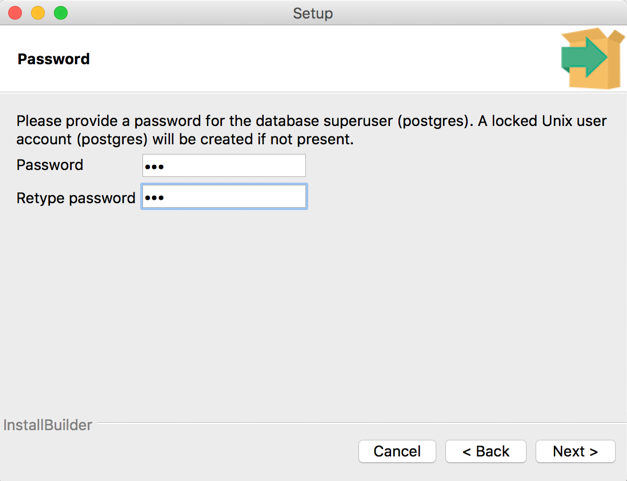
6. Setting the superuser password
You will be asked to provide the password of Postgres Unix superuser, which will be created at the time of installation. Please provide an appropriate password and click “Next”:
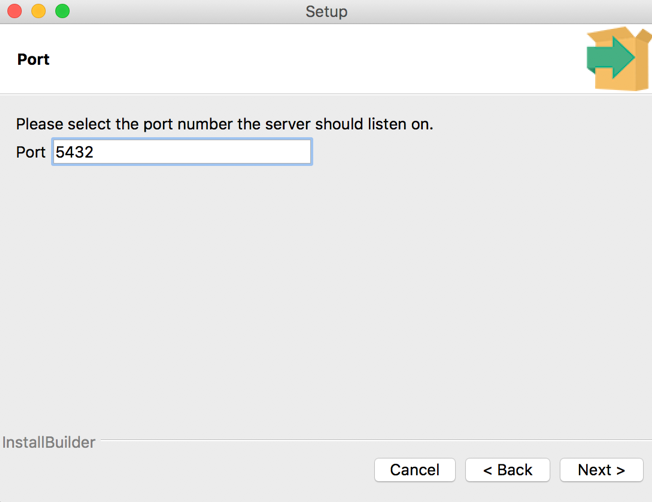
7. Selecting the port number
You will be asked to select the port number on which the PostgreSQL server will listen for incoming connections. Please provide an appropriate port number. (The default port number is 5432.) Make sure the port is open from your firewall and the traffic on that port is accessible. Click “Next”:
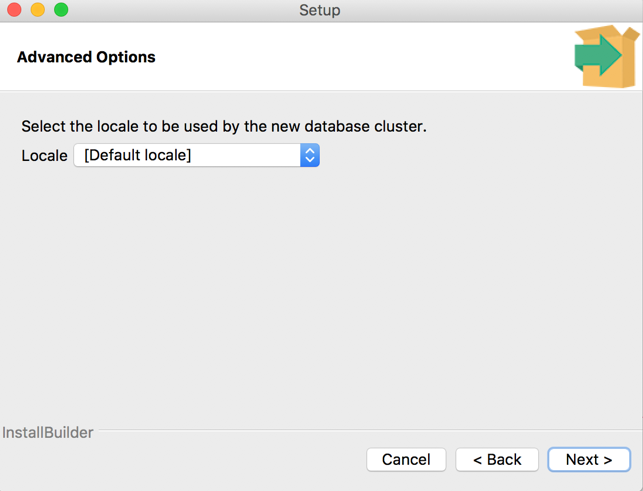
8. Setting locale
Please select appropriate locale (language preferences) and click “Next”:
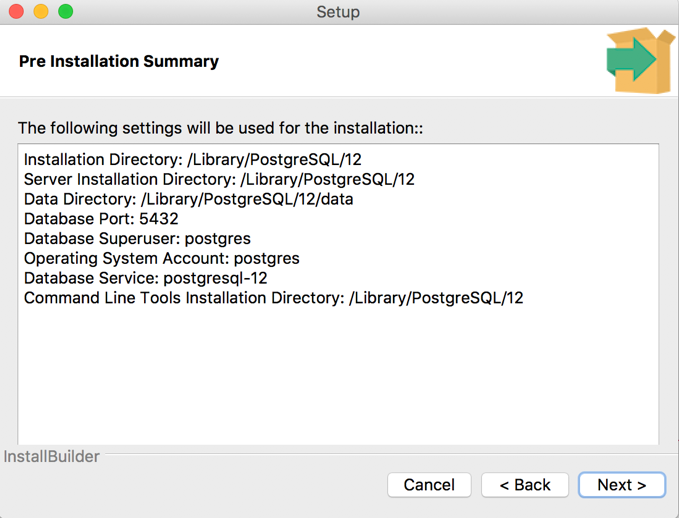
9. Review and installation
You will be provided a summary of your selections from the previous installation screens. Review it carefully and click “Next” to complete the installation:
10. Checking the process
Your installation is completed successfully and you can also confirm the same by connecting to a terminal and running the following command:
ps -ef | grep postgres
This will confirm the processes running for Postgres after the installation:
                                  501 92745     1   0  6:32PM ??     0:00.01 /bin/sh /Volumes/PostgreSQL 12.0-2/postgresql-12.0-2-osx.app/Contents/MacOS/installbuilder.sh -psn_0_5322003

                  501 92753 92745   0  6:32PM ??     0:00.18 /Volumes/PostgreSQL 12.0-2/postgresql-12.0-2-osx.app/Contents/MacOS/PostgreSQL osx-x86_64 -psn_0_5322003 --require-admin 1

                0 92756 92753   0  6:32PM ??     0:18.05 /Volumes/PostgreSQL 12.0-2/postgresql-12.0-2-osx.app/Contents/MacOS/osx-x86_64 -psn_0_5322003 --require-admin 1

                  503 93129 93125   0  7:15PM ??     0:00.00 postgres: logger

                  503 93131 93125   0  7:15PM ??     0:00.00 postgres: checkpointer

                  503 93132 93125   0  7:15PM ??     0:00.01 postgres: background writer

                  503 93133 93125   0  7:15PM ??     0:00.01 postgres: walwriter

                  503 93134 93125   0  7:15PM ??     0:00.00 postgres: autovacuum launcher

                  503 93135 93125   0  7:15PM ??     0:00.00 postgres: stats collector

                  503 93136 93125   0  7:15PM ??     0:00.00 postgres: logical replication launcher

                  501 93313 93303   0  7:16PM ttys000 0:00.00 grep postgres